
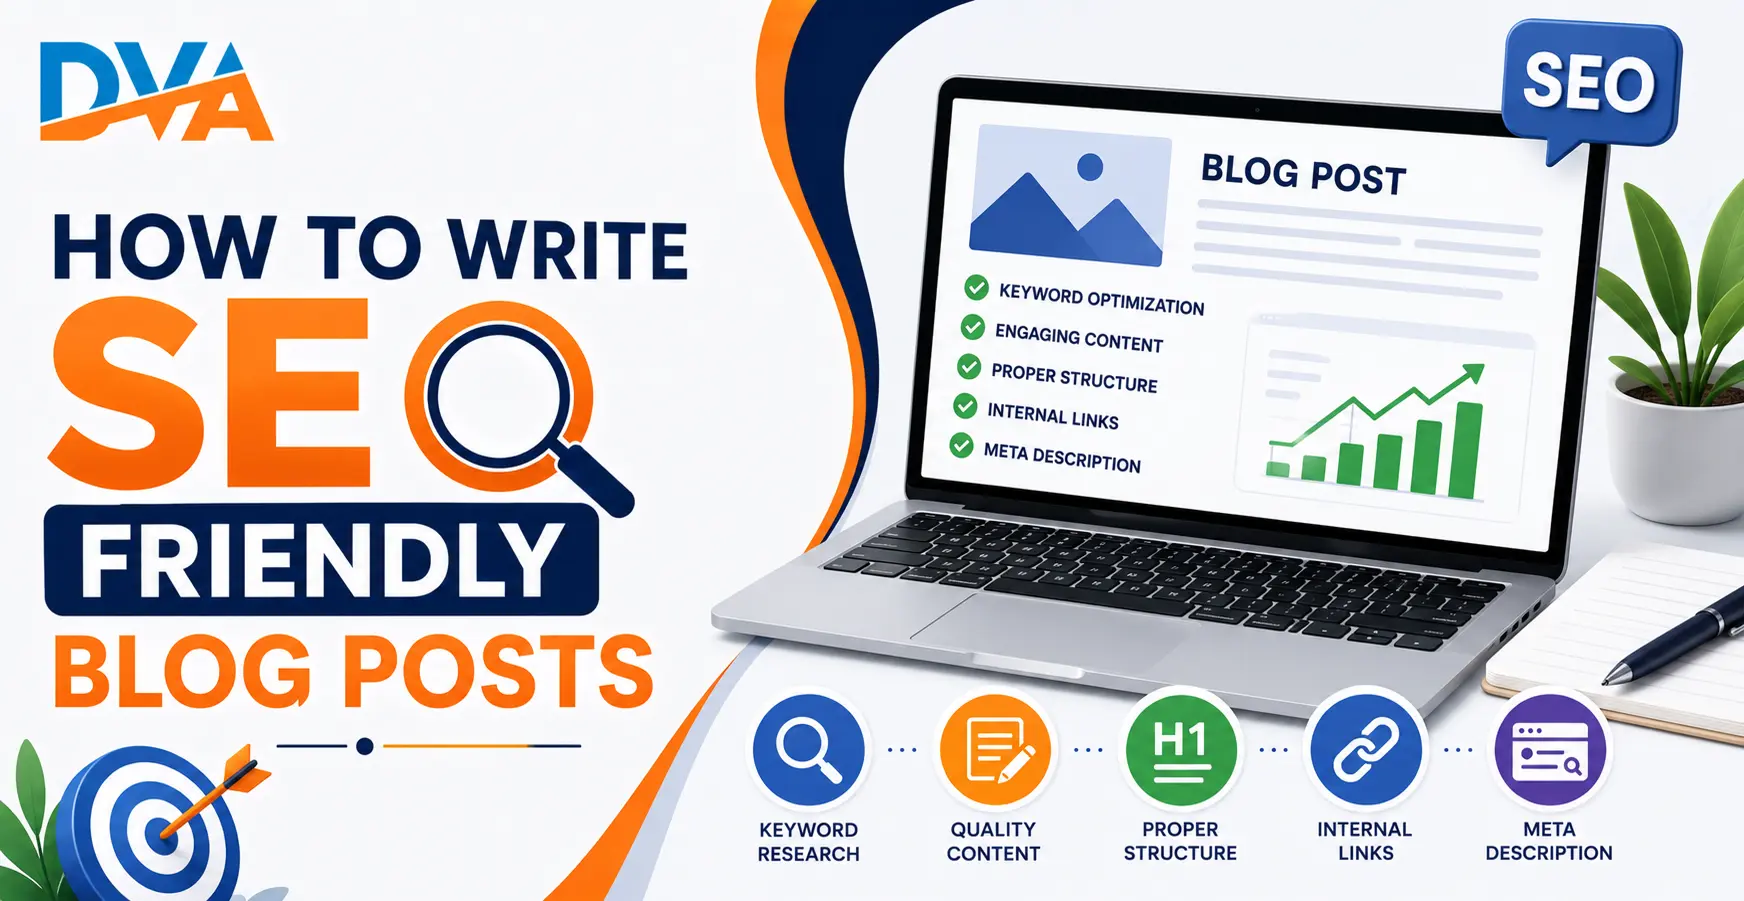
To write an SEO-friendly blog post, follow these steps in order: do keyword research first, match your content to the search intent, plan a clear heading structure, write a direct introduction that answers immediately, optimise your title, URL, and meta description, structure the body with H2 and H3 headings, add internal and external links with optimised images, and review everything before publishing. Following the same process every time builds both quality and consistency.
An SEO-friendly blog post is not about stuffing keywords into a page. It is about writing the most helpful, clear, and accurate answer to what your reader is actually searching for. Google’s job is to find the best result for every query. Your job is to make sure your post genuinely is the best result available for your target keyword.
Writing a blog post and writing an SEO-friendly blog post are not the same thing. A well-written post that no one can find does not help your business or your readers. An SEO-friendly post is one that both your reader and Google can understand, trust, and use.
This guide walks you through each step in order. Follow the process once and you will have a repeatable system you can use for every post you publish going forward.
Step 1: Start with Keyword Research
A primary keyword is the main search phrase your post is designed to rank for. Choose a phrase that is specific enough to be achievable but searched often enough to be worth targeting. For a newer website, a specific phrase like “email marketing for small businesses in Coimbatore” is more realistic to rank for than the broad phrase “email marketing,” which has enormous competition from established brands.
Use free resources like Google Keyword Planner, Google’s autocomplete suggestions, or the People Also Ask section in search results to find good keyword ideas. Type your topic into Google and look at what Google suggests you search for next. Those suggestions reflect what real users are actually searching. For a complete step-by-step keyword research process using free tools, our guide on finding the right keywords without paid tools covers every stage in detail.
Step 2: Understand the Search Intent Behind Your Keyword
There are four main types of search intent:
- Informational — The user wants to learn something. Example: “how to do keyword research.”
- Navigational — The user wants to find a specific website. Example: “Google Search Console login.”
- Commercial investigation — The user is comparing options. Example: “best email marketing tools for beginners.”
- Transactional — The user wants to buy or sign up. Example: “digital marketing course in Coimbatore.”
If the top results for your keyword are all step-by-step guides and your post is a personal opinion essay, it will not match what Google expects to see for that query. Match the intent and the format of what is already ranking, then outperform the existing results on depth, accuracy, and usefulness.
Step 3: Plan Your Heading Structure Before You Write
Your heading structure should follow this hierarchy:
- H1 — One per post. The main title. Contains your primary keyword.
- H2 — Major sections. Each covers a distinct aspect of the overall topic.
- H3 — Subsections within an H2. Use only when a section has multiple sub-points that genuinely need separate labelling.
Do not skip heading levels. Do not use headings purely for visual styling without a structural purpose. Headings are semantic markers that tell both the reader and Google what each section contains and how the content is organised. A post with a clear, logical heading plan is easier to write, easier to read, and easier for Google to index accurately.
Step 4: Write an SEO-Optimised H1, URL, Meta Title, and Meta Description
H1 (on-page title): Include the primary keyword naturally. Write it to be clear and specific about what the post delivers. Use exactly one H1 per post.
URL slug: Keep it short and keyword-focused. Use hyphens between words. Remove stop words such as “a,” “the,” and “in” where possible. Never change the URL of a published, indexed post unless absolutely necessary, because doing so breaks any existing links and requires a 301 redirect to preserve any authority the page has built. According to Google’s URL structure guidance, simple, descriptive URLs that reflect your content hierarchy are recommended.
Meta title (SEO title): Keep it between 50 and 60 characters. Include the primary keyword. Make it compelling because it is what searchers see in Google results and it needs to earn the click. According to Google’s documentation on title links, Google uses the title to understand the topic of the page and may rewrite it if the provided title does not accurately represent the content.
Meta description: Write 140 to 160 characters that summarise what the reader will get from the post. Include the primary keyword naturally. Focus on giving the searcher a clear, useful reason to click.
Step 5: Write an Introduction That Answers Immediately
A strong SEO blog post introduction does three things in sequence: it delivers a direct answer to the title’s question, tells the reader what the post will cover, and gives them a genuine reason to keep reading.
Do not open with “In today’s digital world…” or “In this blog post, we will be discussing…” These openers waste the reader’s time and delay the answer they came for. Instead, use the first sentence to directly address the question your title raised. Add a “Key Takeaway” callout box after the opening paragraph if your topic has a non-obvious insight that will help the reader frame everything that follows.
Step 6: Write Body Sections Where Each H2 Starts with a Direct Answer
Write each body section using this three-part format:
- H2 heading — Clear and specific. Ideally phrased as a question or a direct action phrase.
- Answer capsule — 30 to 60 words that fully answer the heading on their own, without needing the surrounding content.
- Detailed explanation — Expand with examples, steps, data, or context that builds on the answer.
Keep paragraphs to two or three sentences maximum. Use bullet points when listing items that do not need to be read in a specific order. Use numbered lists only for steps that must be followed in sequence. Content quality always matters more than word count. A 1,200-word post that fully answers the search query will consistently outperform a 2,500-word post padded with repeated points and generic filler.
Ready to start?
Learn Digital Marketing with Live Projects at Digital Vishnu Academy, Coimbatore
SEO, Google Ads, Social Media, AI Tools and more. Job-ready in 3 months.
Step 7: Add Internal Links, External Links, and Optimised Images
Internal links: Use descriptive anchor text that tells the reader exactly what they will find on the linked page. Link to pages that genuinely add value — related blog posts, service pages, or course pages that are contextually relevant. Every internal link should make sense from the reader’s perspective, not just from an SEO perspective.
External links: Cite credible sources for any factual claim that can be verified externally. Official Google documentation, research publications, government pages, and recognised industry bodies are strong sources. External links signal that your content is part of a wider, trustworthy knowledge ecosystem and is not making unsupported assertions.
Images: Every image in a blog post should have an accurate alt text attribute. Alt text describes the image for screen readers and for search engines that cannot read images visually. Use your primary or secondary keyword naturally in the alt text only where it accurately describes what is in the image. The image file name, alt text, and image title should all be different from each other, each targeting a distinct related keyword phrase. Our on-page SEO checklist covers image optimisation alongside every other key element to review on each page before publishing.
Step 8: Review and Publish Using a Final Checklist
Content checks:
- Direct answer appears in the first 50 words
- Post fully covers the topic from the search intent angle
- No fabricated claims, unverifiable statistics, or invented data
- Language is clear, jargon is explained, reading level is accessible
Technical checks:
- H1 appears once and includes the primary keyword
- H2 and H3 headings follow a logical, unbroken hierarchy
- URL slug is short, clean, and keyword-focused
- Meta title is 50–60 characters
- Meta description is 140–160 characters
- All internal links work and point to live pages
- All external links work and point to credible, relevant sources
- Every image has a descriptive, accurate alt text
- Category and tags are assigned
- Excerpt is written
- No placeholder text remains anywhere in the post
Google’s helpful content guidance asks three core questions: Is the content written primarily for people? Does it cover the topic fully? Would someone who read it feel they got a satisfying, complete answer? If the honest answer to all three is yes, the post is ready to publish.
Consistently publishing accurate, well-structured posts with proper author attribution also builds your E-E-A-T — the Experience, Expertise, Authoritativeness, and Trustworthiness signals that Google uses to evaluate content quality over time. Our guide on what E-E-A-T is and why Google cares about it explains what these signals mean in practice and how to strengthen them.
Strong SEO Blog Post vs Weak SEO Blog Post
| Element | Strong SEO Blog Post | Weak SEO Blog Post |
|---|---|---|
| Keyword | Based on real search demand and intent | Guessed without research |
| Search intent | Format matches what top results deliver | Format ignores what Google is ranking |
| Introduction | Answers the question in first 50 words | Generic opening, answer buried deep |
| Heading structure | Clear H1, H2, H3 logical hierarchy | Random or visual-only headings |
| Body sections | Each H2 starts with a direct answer | Long paragraphs, no clear takeaway per section |
| Meta title / URL | Keyword-focused, 50–60 characters | Generic title, long complex URL |
| Internal links | 3–5 links to genuinely relevant pages | No internal links or random linking |
| Image alt text | Accurate, keyword-relevant alt text | No alt text or “image1.jpg” as alt |
| Pre-publish review | Checklist completed before every publish | Published immediately, issues found later |
Writing SEO-friendly blog posts is a skill that gets faster and more consistent with practice. What matters most is following the same process every time: start with the right keyword, match the search intent, plan your headings, answer directly, add your links and images, and review before you publish.
Consistency matters more than perfection. Two well-structured, properly researched posts published each month will outperform ten rushed posts with no keyword strategy. Build the habit, and the results will follow.
If you want to learn SEO content writing, on-page optimisation, and digital marketing strategy with hands-on projects and real guidance, our SEO course in Coimbatore and digital marketing course cover all of these skills from the ground up.
How Long Should a Blog Post Be to Rank on Google?
There is no single correct blog post length for ranking on Google. The right length is however many words it takes to fully and clearly answer the searcher’s question, with no padding. For most topics, that falls between 1,500 and 2,500 words. Highly competitive or complex topics may warrant more. Simple, specific questions are often best answered in 800 to 1,200 words. Length alone does not rank content. Depth, clarity, and genuine usefulness do.
Google’s helpful content guidance makes no reference to a minimum word count. It focuses entirely on whether the content satisfies the reader. A 700-word post that fully answers a specific question can outrank a 3,000-word post that repeats the same points to meet an arbitrary length target.
A practical way to judge the right length: find the top three results for your keyword, read them, and identify what is missing. Your post should be at least as thorough as the best-ranking page, covering anything important those pages missed, and no longer than needed to do that well.
Avoid common length mistakes:
- Padding with filler paragraphs: Restating the same point in different words adds length but removes trust and increases bounce rate
- Splitting one complete topic into multiple short posts: This dilutes your authority on the topic and forces readers to visit multiple pages to get a full answer
- Cutting genuinely useful detail: If a step requires a sub-step to be clear, include it. Artificially short posts leave readers with unanswered questions
How to Write for Google Featured Snippets
A featured snippet is the highlighted answer box that appears at the top of some Google search results above all other links. Google pulls this content directly from a web page it judges to have the clearest, most direct answer to a specific query. To write for featured snippets, open each H2 section with a concise 40 to 60 word direct answer written as a standalone statement. Use the exact phrasing of the question the reader is asking, then give the complete answer in that opening paragraph.
There are three main types of featured snippets, each requiring a slightly different writing approach:
| Snippet Type | Triggered by | How to write for it |
|---|---|---|
| Paragraph snippet | Definition or explanation queries (what is, how does) | Write a 40 to 60 word direct definition immediately after the H2 heading |
| List snippet | Step-by-step or ranking queries (how to, best ways) | Use a numbered or bulleted list with clear, concise items after a short introductory line |
| Table snippet | Comparison queries (vs, difference between, pricing) | Use an HTML table with clear column headers and concise cell content |
You cannot directly control whether Google shows a featured snippet for your content. You can only make your writing clear and direct enough to be worth extracting.
Practical writing rules that improve featured snippet eligibility:
- Start H2 headings with question words where natural: What is, How do, Why does, What are
- Give the complete answer in the first paragraph of each section before expanding with detail
- Use the same language your audience uses in search, not industry jargon
- Keep your opening answer paragraph to a single, complete idea with no sub-clauses that require context
How to Keep Your Blog Post Ranking: The Content Update Strategy
Publishing a blog post is not the end of the ranking process. It is the beginning. Pages that rank and hold their position are updated regularly to reflect current information, address new questions, add new internal links, and stay relevant to how searchers are currently phrasing their queries. A good content update strategy reviews your published posts at least every six to twelve months and refreshes anything that has become outdated, incomplete, or outranked by newer competitor content.
Signs a blog post needs updating:
- The post was ranking in positions 4 to 10 but has slipped over the past 3 months
- The post references statistics, tools, or information that are more than one year old
- New questions about the topic have emerged in your comments, DMs, or related search suggestions that the post does not answer
- Competitors have published newer, more comprehensive versions of the same topic
- The post has no internal links to newer related posts you have published since it went live
What to do when you update a blog post:
- Add new sections that answer questions not covered in the original post
- Update outdated information including statistics, tool names, platform features, and any year-specific references
- Add new internal links to posts you have published since the original went live
- Update the meta description if it no longer accurately reflects the full content of the post
- Update the published date in WordPress only if you have made substantial changes, not just minor edits
A structured approach to content updates works best when it is part of your broader content plan. Our guide on how to plan 30 days of content in 2 hours includes a slot for content refresh work so that updating existing posts becomes a regular scheduled task rather than something you do only in a crisis.
Frequently Asked Questions
What makes a blog post SEO-friendly?
A blog post is SEO-friendly when it matches the search intent behind a specific keyword, uses a clear heading structure, includes the primary keyword in the title, URL, meta description, and introduction, links to relevant internal and external pages, uses accurate image alt text, and is written to genuinely help the reader rather than to satisfy a word count or keyword density target.
How long should an SEO blog post be?
An SEO blog post should be as long as it needs to be to fully answer the search query — not longer. For most informational topics, this is between 1,000 and 2,500 words. Thin posts of 200 to 300 words rarely cover a topic well enough to rank. Posts padded to 5,000 words on a simple topic signal low quality. Let the topic and the reader’s needs determine the length, not a target word count.
How many keywords should I use in one blog post?
Use one primary keyword and three to five secondary or related keywords per post. There is no ideal keyword density to aim for. Place the primary keyword in your H1, URL, meta title, meta description, and introduction naturally. Use secondary keywords in relevant H2 sections where they fit organically. Do not force keywords into sentences where they read unnaturally — unnatural keyword use harms readability and signals poor content quality to Google.
Should I use an H1 or H2 for my blog post title?
Your blog post title should always be the H1, and there should be exactly one H1 per page. WordPress themes and SEO plugins like Rank Math and Yoast SEO typically set the post title as the H1 automatically. Use H2 for the major sections of your post and H3 for sub-points within those sections. Never use multiple H1 tags on one page, and never skip from H1 directly to H3 without an H2 in between.
How do I write a good meta description for a blog post?
Write a meta description of 140 to 160 characters that summarises what the reader will find in the post and includes the primary keyword naturally. Give the searcher a clear, useful reason to click. A strong meta description reads like a direct, one-sentence answer to the title’s question. Google may rewrite it in search results, but providing a well-written one is still recommended as it sets the correct expectation for the page’s content.
How often should I publish SEO blog posts?
Consistency matters more than frequency. Publishing two well-researched, well-structured posts per month is more effective than publishing ten thin posts per week. Each post should target a distinct primary keyword with a clear search intent. Over time, a consistent publishing schedule builds topical authority in your subject area, which helps newer posts rank more quickly than the first few posts on a new website did.